


Every piece of embroidered clothing, patch, or cap you see starts with one essential process — embroidery punching. This process is the digital translation of a design into a format that embroidery machines can read and stitch accurately.
It’s the foundation of every clean, durable, and professional embroidery product. Without precise punching, even the best artwork can result in poor stitching, thread breaks, or uneven designs. Understanding embroidery punching helps ensure your projects are not only beautiful but also built to last.
What Is Embroidery Punching?
Embroidery punching (also called digitizing) is the process of converting digital artwork — such as a logo, pattern, or drawing — into a machine-readable embroidery file (like DST, PES, or EXP). This file tells the machine how to move the needle, where to start and stop, when to change thread colors, and how dense each stitch should be.
In short, it’s the technical blueprint for embroidery. A professional puncher combines artistic understanding with mechanical knowledge to create a design that sews perfectly on any fabric or surface.
How Embroidery Punching Works
The process involves several steps, each equally important to achieve accurate and consistent results:
1. Artwork Preparation
The digitizer first cleans and simplifies the artwork. Fine details, shadows, or gradients that won’t translate into thread form are adjusted to ensure clarity and balance.
2. Importing the Artwork
The cleaned image is imported into specialized embroidery software such as Wilcom, Hatch, or Pulse DGML. Here, the digitizer maps stitch types, directions, and layers.
3. Assigning Stitch Types
Different stitch types create different textures and visual effects:
-
Satin Stitch: Smooth and shiny, ideal for outlines and text.
-
Fill Stitch: Perfect for covering large areas with even texture.
-
Run Stitch: Best for outlines and delicate details.
4. Adding Underlay
An underlay stitch acts as a base layer beneath the main stitches. It stabilizes the fabric, prevents puckering, and gives the design a structured, three-dimensional finish.
5. Adjusting Density and Angles
The digitizer sets stitch density (stitches per inch) and direction according to the fabric type. For example, dense stitches work well on cotton, while lighter stitches suit stretchy materials.
6. Test Stitching
Once the file is complete, it’s tested on the intended fabric. Any tension issues, gaps, or thread breaks are corrected before production begins.
Why Embroidery Punching Matters

Even with advanced embroidery machines, quality depends on how well the design is punched. A poorly digitized file can lead to uneven stitching, wasted thread, and poor fabric quality.
Good punching, on the other hand, ensures:
-
Clean and consistent stitching.
-
Balanced density for smooth texture.
-
Minimal thread breaks during production.
-
Precise alignment of shapes and letters.
-
Long-lasting embroidery that withstands washing and wear.
In essence, embroidery punching turns creative ideas into flawless results.
Applications of Embroidery Punching
Embroidery punching is used across multiple industries and creative fields:
-
Corporate Branding: Logos on uniforms, workwear, and caps.
-
Sports Teams: Crests, player names, and badges.
-
Fashion Industry: Decorative embroidery on jeans, jackets, and bags.
-
Patches: Custom iron-on, Velcro, or sew-on patches.
-
Promotional Products: Embroidered merchandise for events and giveaways.
Every embroidered product begins with a precise punching file — it’s the backbone of quality production.
Tools and Software for Embroidery Punching
Professional digitizers use advanced software to plan and visualize every stitch. Commonly used programs include:
-
Wilcom Embroidery Studio: Industry standard with high accuracy.
-
Hatch Embroidery: Great for small businesses and beginners.
-
Embird Studio: Versatile and affordable for multi-format outputs.
-
Pulse DGML: Designed for industrial-level embroidery setups.
-
Brother PE-Design: Ideal for home embroidery enthusiasts.
These tools allow complete control over stitch type, color order, and density — ensuring machine efficiency and aesthetic precision.
Challenges in Embroidery Punching
Even experienced digitizers face challenges that require attention and expertise:
-
Tiny Lettering: Small text can lose definition if stitch angles are off.
-
Fabric Stretch: Elastic materials may distort designs without proper underlay.
-
Color Overlap: Wrong sequencing can cause threads to blend unintentionally.
-
Thread Breakage: Happens due to excessive density or abrupt stitch angles.
Skilled punchers understand how to balance visual detail with machine performance for smooth, durable embroidery.
Benefits of Professional Embroidery Punching

-
Precision and Consistency: Each garment looks identical, maintaining brand standards.
-
Efficiency: Optimized files reduce machine time and thread waste.
-
Durability: Balanced density ensures embroidery withstands repeated use.
-
Scalability: Files can be resized for different applications without distortion.
-
Visual Appeal: Clean edges, even fills, and bright thread colors enhance quality.
Professional punching transforms designs into production-ready assets that save time and boost visual impact.
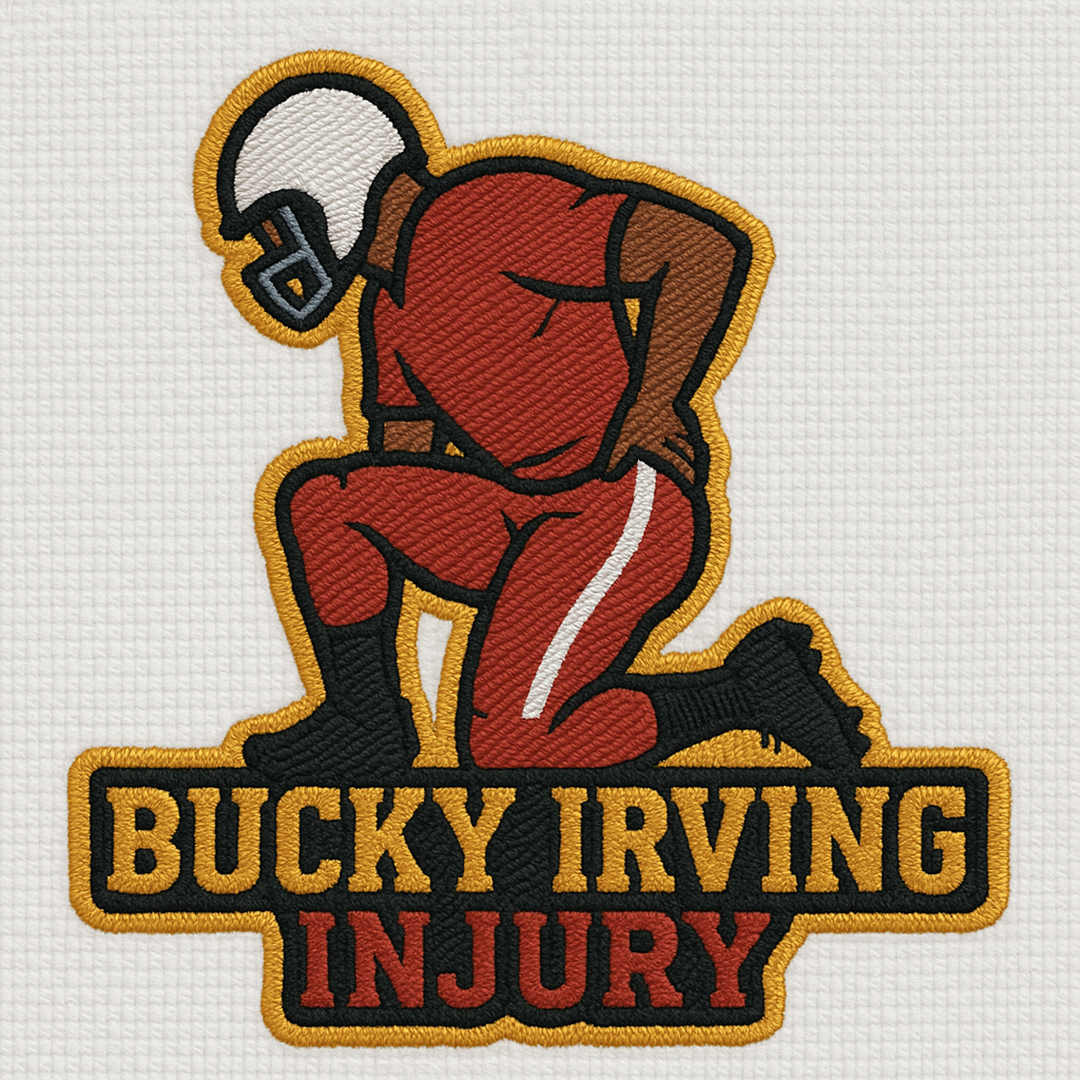
Example: Digitizing a Sports Logo
A sports team wants a detailed embroidered badge. The digitizer starts by using fill stitches for the background, satin stitches for outlines, and running stitches for text details. After testing, minor density adjustments are made to improve stitch flow. The final logo looks bold, smooth, and balanced — ready for uniforms, hats, and jackets.
This example shows how expert embroidery punching turns creative artwork into polished, repeatable results.
Tips for Better Embroidery Punching
-
Use vector-based artwork for best results.
-
Always test on the actual fabric type.
-
Avoid tiny text below 0.25 inches.
-
Optimize color sequencing to reduce thread changes.
-
Adjust stitch density based on fabric weight.
-
Review every design visually before final production.
Consistency in these small details ensures professional-level embroidery every time.
FAQs About Embroidery Punching
1. Is embroidery punching and digitizing the same?
Yes. Both refer to creating a stitch file that tells the machine how to sew the design.
2. Can I learn embroidery punching myself?
Yes, with training and software. However, professional punchers offer faster, more precise results.
3. What formats are commonly used?
The most popular are DST, PES, EXP, JEF, and HUS.
4. How long does it take to punch a design?
Simple designs take about one hour; complex, multi-color artwork may take several hours.
5. Why is punching so important?
It ensures smooth stitching, accurate color placement, and long-term durability of embroidery products.
Conclusion
Embroidery punching is the essential first step in achieving top-quality embroidery. It’s a perfect blend of technology and craftsmanship — turning creative ideas into beautiful, machine-ready designs.
Whether for business branding, sports uniforms, or fashion garments, precision punching ensures every stitch reflects professionalism and artistry.
Invest in expert punching, and you’ll never have to worry about crooked stitches or uneven textures again — just flawless embroidery, every single time.